Happy New Year 49andMarket friends. I hope seeing your New Year in, was a special treat for you, and may the remainder of 2019 bring you lots of good times and much cheer and of course a lot of time for creating.
Today from me is a very old project that I created probably this time last year for my trip to New Zealand. This was a teaching project that I used at the fabulous Autumn Escape. It is just crazy that the year flew that fast and I still have not shared it with you.
But better later than never as they say.
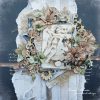
This is “Naughty or Nice” which is exactly what I use to ask my youngest coming up to Christmas every year.
And look at those eyes. My mischievious girl.

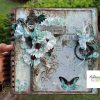
This was created using the very very versatile Vintage Artistry Collection mixed with a sheet of the Heirloom Botanicals Cut Outs. I used two sheets of the Cut Outs. One for the fussy cut elements and one for the tearing to make the base background with the reverse side of the Vintage Artistry Ephemera paper. I also added a sheet of black cardstock in for some contrast. All the papers and layers were then distressed and inked with a little Distress Ink Black Soot.
I did some tearing of the papers


Once all my papers were layered and I did some matting of my black and white photo, I inked a couple of Dusty Attic Chipboard frames and cut them into three pieces to make a larger framework to tuck in and around the photograph. I also placed some of the distressed pieces of ephemera around my layout also.

Above you can see the beautiful 49 andMarket flowers that I have used to embellish the project with. I coloured the roses to compliment that background paper from Heirloom Botanicals. A peach acrylic paint was used to do this.
-
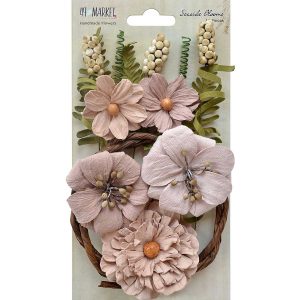
- Seaside Blooms Sandcastle
-
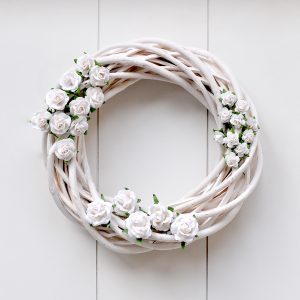
- White Roses
-
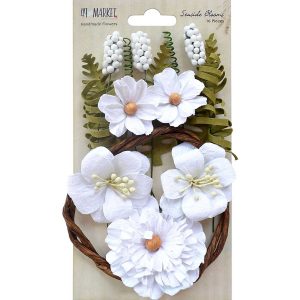
- Seaside Blooms Cotton
Seaside Blooms Sandcastle and Cotton
White Roses

Above here you can see a section of the frame work I made created from 2 of the gorgeous Dusty Attic Vintage Frame #2. I cut both frames after inking them randomly in Distress Ink Black Soot. I then arranged them so that I could build a bigger frame for my larger photo size.
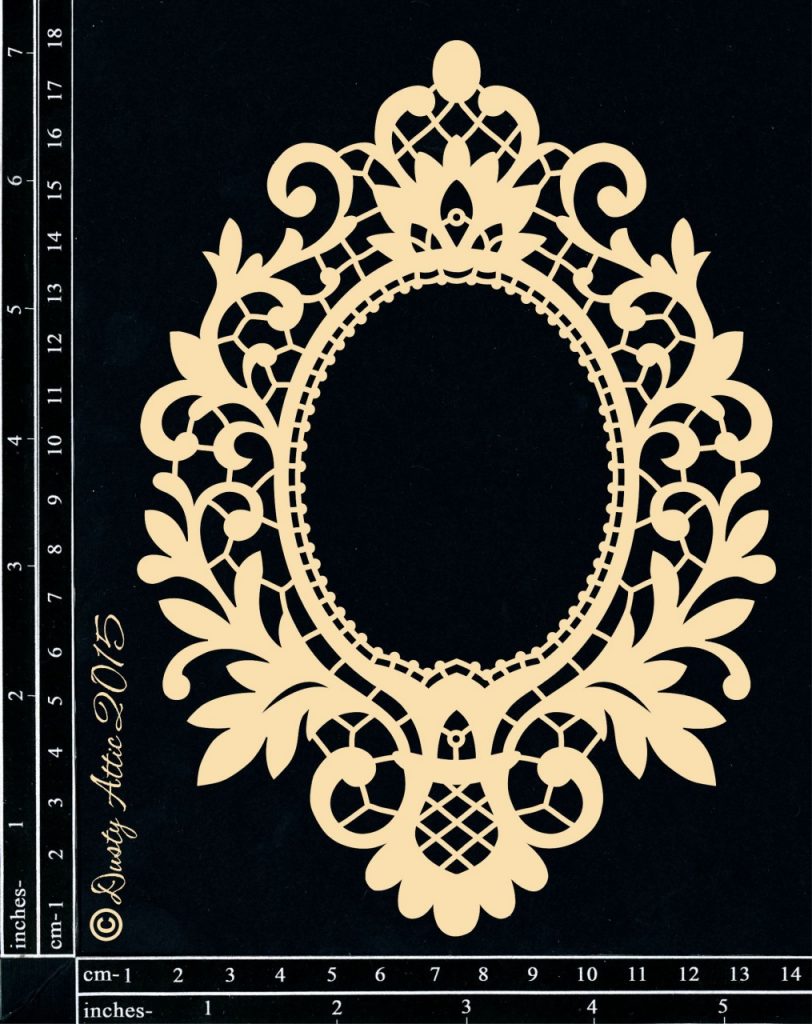
Fancy Frame #2
And to complete the contrast of black I continued on to use the black Dots and Black Mini Tabs and Wordpl@y strips. All the hard work of colouring your boards has already been done for you. Simply remove from packaging and adhere to your layout. I love these…….
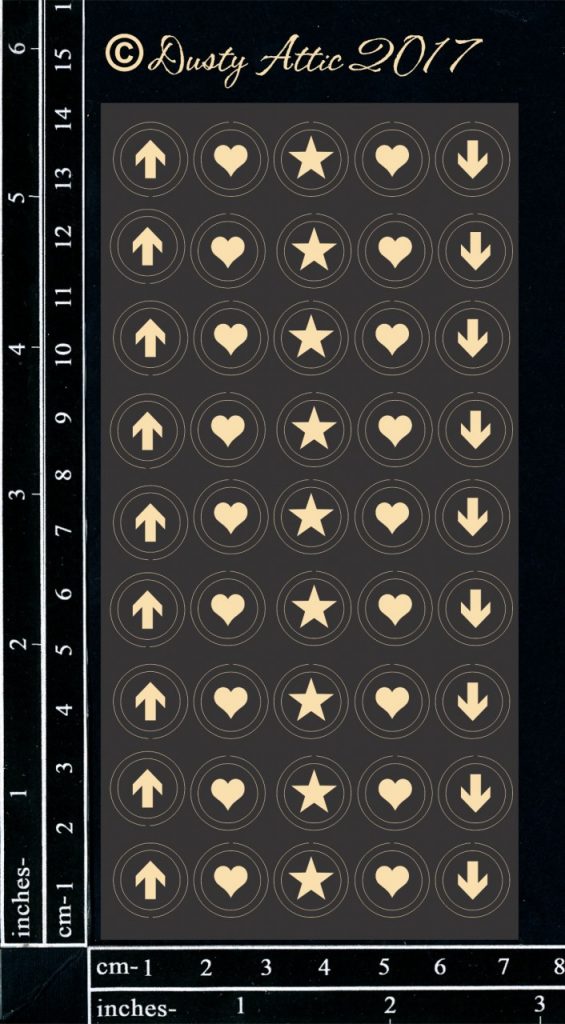
Decorative Black Dot DA1820
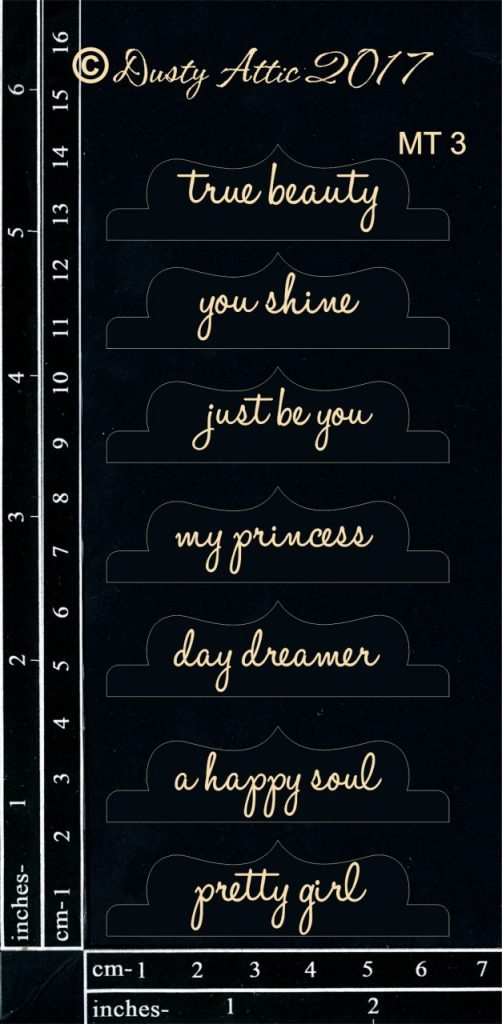
Mini Black Tabs #3
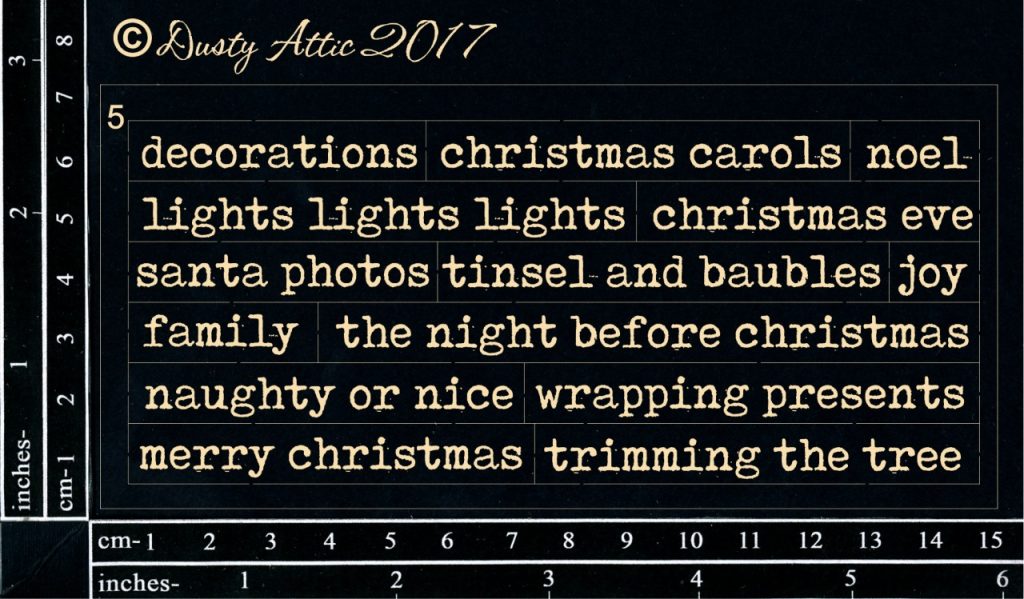
Wordpl@y #5 Black (Christmas)
I coloured some muslin with the same acrylic paint used for the roses to help break up the white in my layout.

I also added in some of the green foliage which has been dusted with a little white acrylic white paint.

And lastly I added in some black and white splatters of ink.
Well that is all from me today. Until next time take care and happy new year once again!!