Hello and a big welcome Papericious friends. It’s Tina with you here today to share my second project. I have to say I am most positively smitten with the Fun Fleur Collection. I could go on using this forever. The colours are vibrant and fun and perfect for those photos of the children from the days when they were perfectly happy all the time. This project has been titled “Happy upside down”. And the reason being is that is where my youngest was really at her happiest the most upside down. You could always find her hanging off something and with no hands. Thank goodness she has outgrown these little things, but I do reminisce about it often.

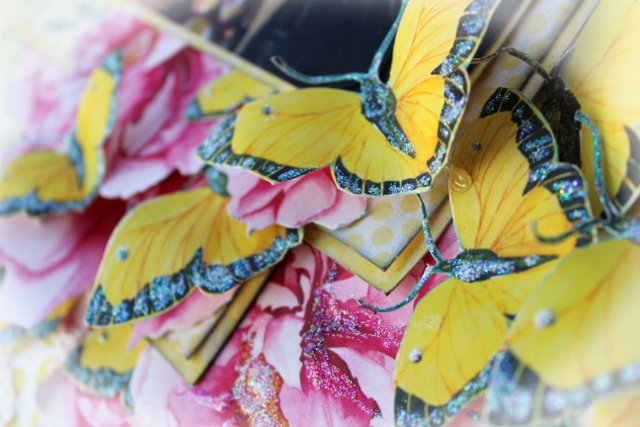
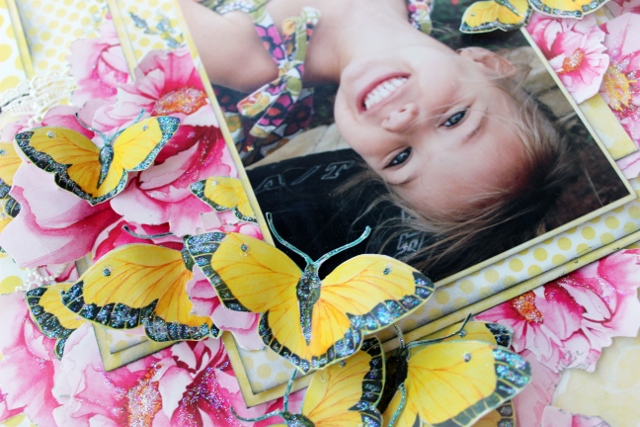
Where I started with this project was to simply cut a lot of butterflies from the sheets supplied in the Fun Fleur pack. All the yellow and black butterflies that is. I used both the 12 x 12 pack and also the 6 x 6 pack to allow a good variety of sizes. They were then shaped a little so the that they didn’t sit perfectly flat. I then added some pretty Star Dust stickles to the black areas to highlight the butterflies some more.
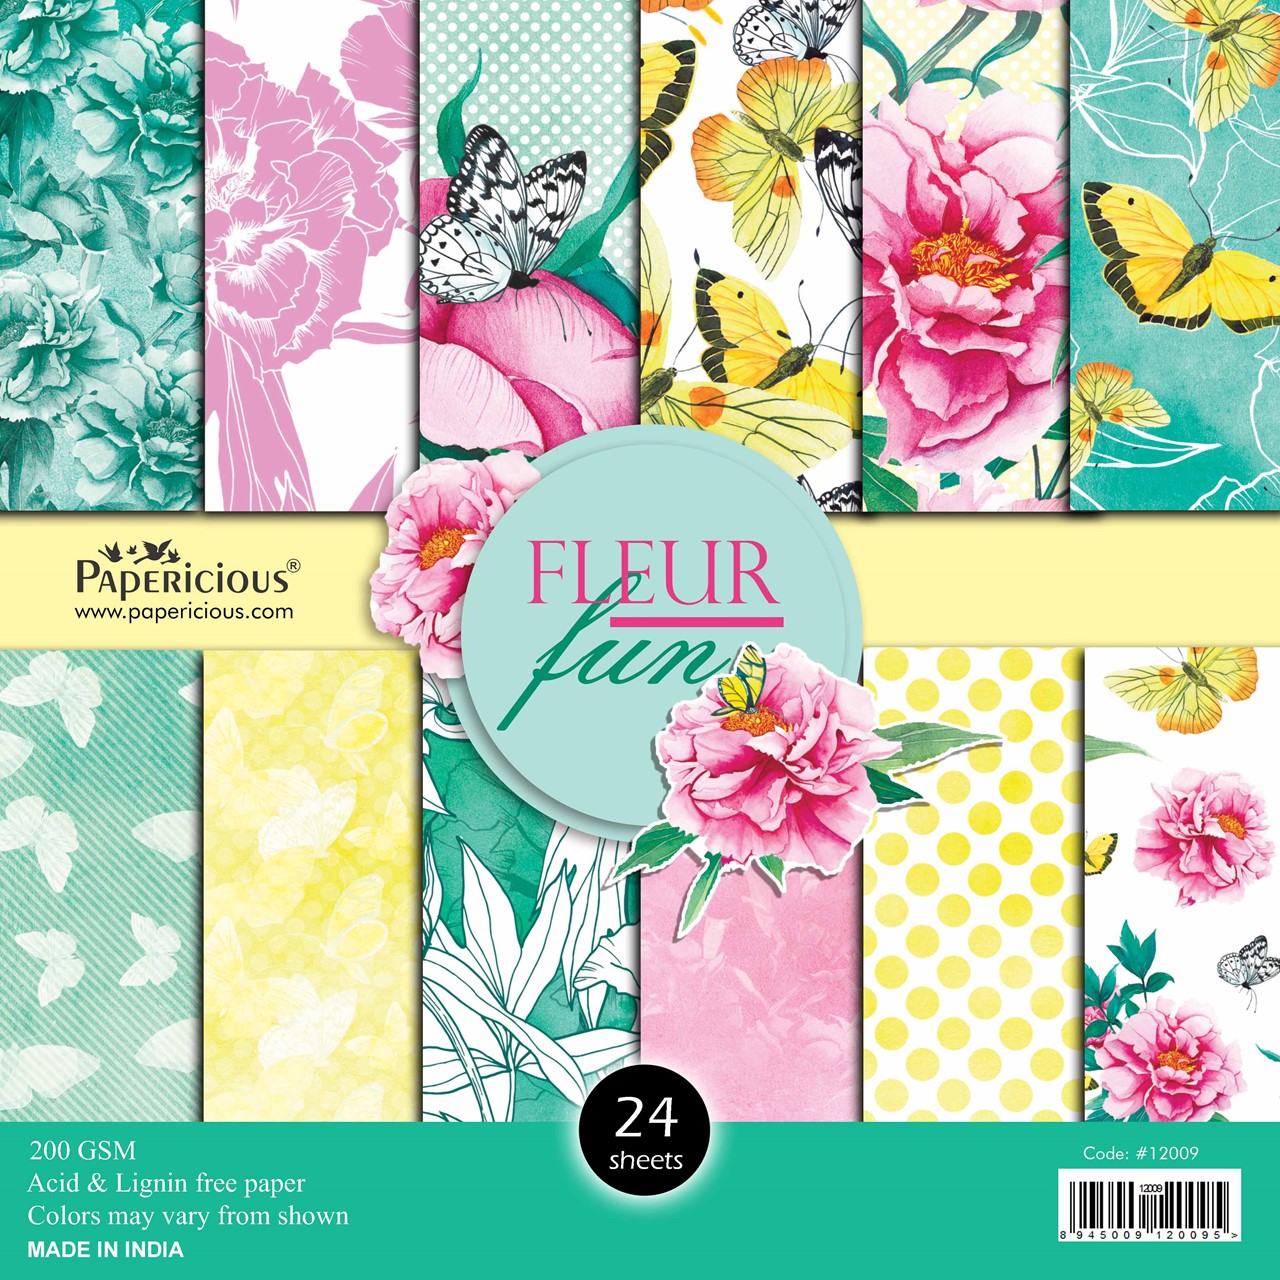
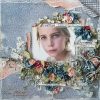
I used the 12 x 12 Large Yellow Polkadot page as my background. Tore a couple of slithers from the Yellow Butterfly page and adhered to the Polkadot top and bottom. I then layered the remaining Yellow Butterfly paper behind the 6 x 6 sheets of Yellow Butterfly paper. I did this two times and layered these two and as seen below. All the edges were inked with Black Soot Distress Ink. I then mounted my photo with more of the Yellow Butterfly paper. You may need to use a second sheet. I also cut the pink flowers from a few differing sheets again to get a good variation of sizes. Some of the edges I distressed a little to make them more rigid.

Once the matting layers were down I went to work placing and layering the fussy cut elements.

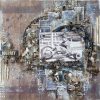
Here you can see the layers along with a little bit of random stamping I did with Distress Black Soot ink.

I also did a little stamping of some leaf branches in Distress Ink Black Soot. I then went over the top of the image with a little of the Star Dust Stickles and allowed it to dry.

I also added in a few sections of some pretty leftover lace I found in my stash.


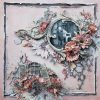
Above here to the left you can see the black strip of square rhinestones I added to the strip running along the back of the layout.

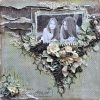
And I have a few more closeups for you from differing angles.

Well that is me for today. I do hope you enjoyed my short tutorial and post.
Until next time take care and happy scrapping.
Tina x